Kids Coding with MIT Scratch: A Beginner's Guide
Kids Coding with MIT Scratch: A Beginner’s Guide
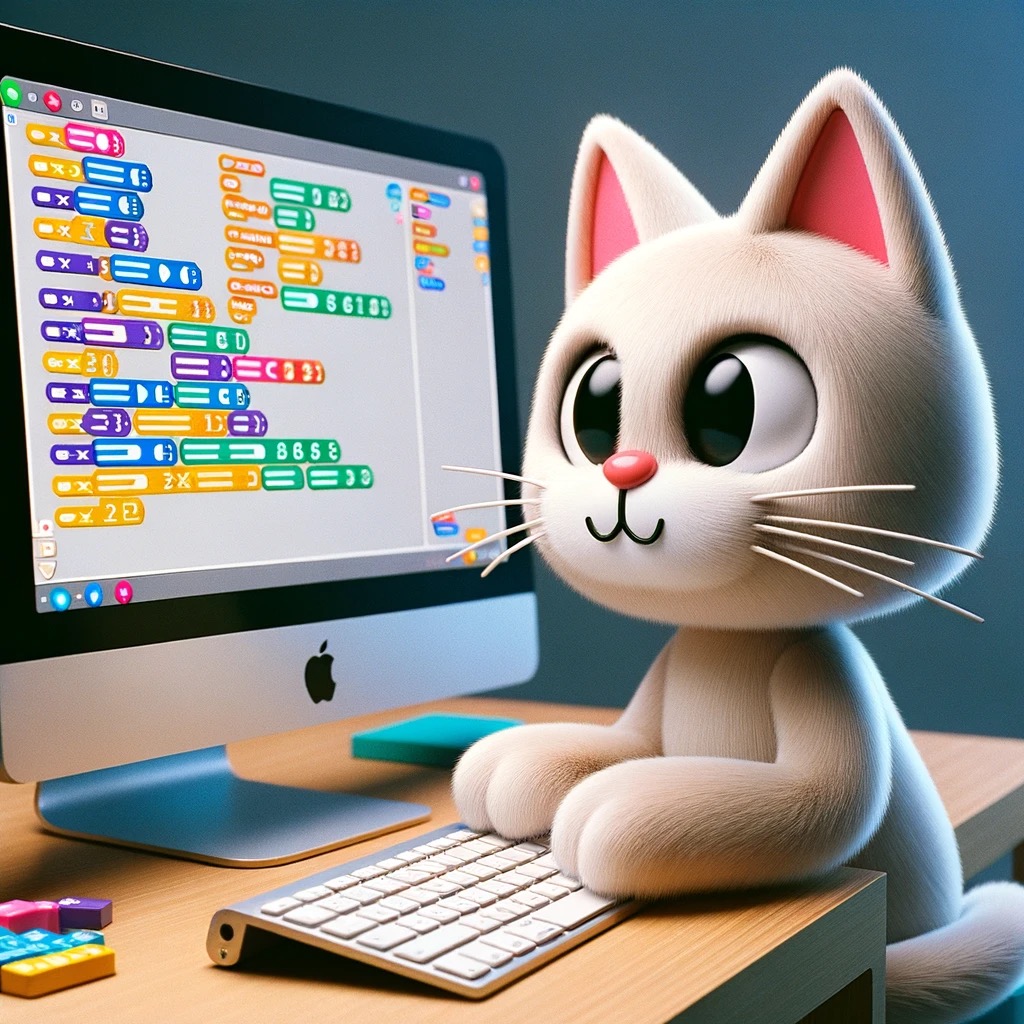
Hello, young coders! Welcome to the wonderful world of coding with MIT Scratch. Scratch is a free programming language that makes it super easy and fun to create your own stories, animations, and games. Let’s dive into the key components of Scratch and discover how you can start creating your very own digital masterpieces!
1. The Scratch Stage
When you first open Scratch, you’ll notice a large white area on the right. This is called the Stage. It’s where all the action happens! You’ll see your characters, called sprites, move, dance, talk, and interact right here.
2. Sprites
Sprites are the characters and objects that you can add to your Scratch project. They can be anything – animals, people, trees, cars, or even inanimate objects like a pencil or chair. You can choose from the Scratch library or draw your own. Remember, every sprite can have its own set of instructions or code.
3. The Blocks Palette
On the left side, you’ll find colorful blocks. These are the building blocks of your code. Each color represents a different category:
- Motion Blocks (Blue): Move your sprites around.
- Looks Blocks (Purple): Change how your sprites appear.
- Sound Blocks (Pink): Make your sprites sing, talk, or play music.
- Events Blocks (Yellow): Decide when and how your code should start or stop.
- Control Blocks (Orange): Add loops, conditions, and more to control your code’s flow.
- Sensing Blocks (Light Blue): Help your sprites react to what’s happening around them.
- Operators Blocks (Green): Add math and logic to your projects.
- Variables Blocks (Red): Store information like scores or player names.
- My Blocks (Magenta): Create custom blocks for complex actions.
4. The Code Area
Right in the middle is the Code Area. This is where you drag and drop blocks to give instructions to your sprites. By snapping these blocks together, you can create sequences of actions, much like putting together pieces of a puzzle.
5. The Backdrop
Just as every play needs a stage set, every Scratch project can have a Backdrop. This sets the scene for your sprites. Maybe it’s a sunny day at the park, a starry night in space, or a bustling city street. You decide!
6. Costumes and Sounds
Every sprite can have different appearances called Costumes. Think of it like changing outfits! They can also have multiple sounds associated with them. This is great for creating animations with different moods and effects.
7. The Green Flag and Red Stop Sign
At the top of the Stage, you’ll see a green flag and a red stop sign. Clicking the green flag starts your project, and clicking the red stop sign stops it. Always test your project by clicking the green flag to see if it works the way you want!
In Conclusion
Scratch is a fantastic platform for budding coders. It’s visual, interactive, and most importantly, super fun! By understanding its components, you’re now ready to start your journey into the world of coding. So, get scratching and let your imagination run wild!
