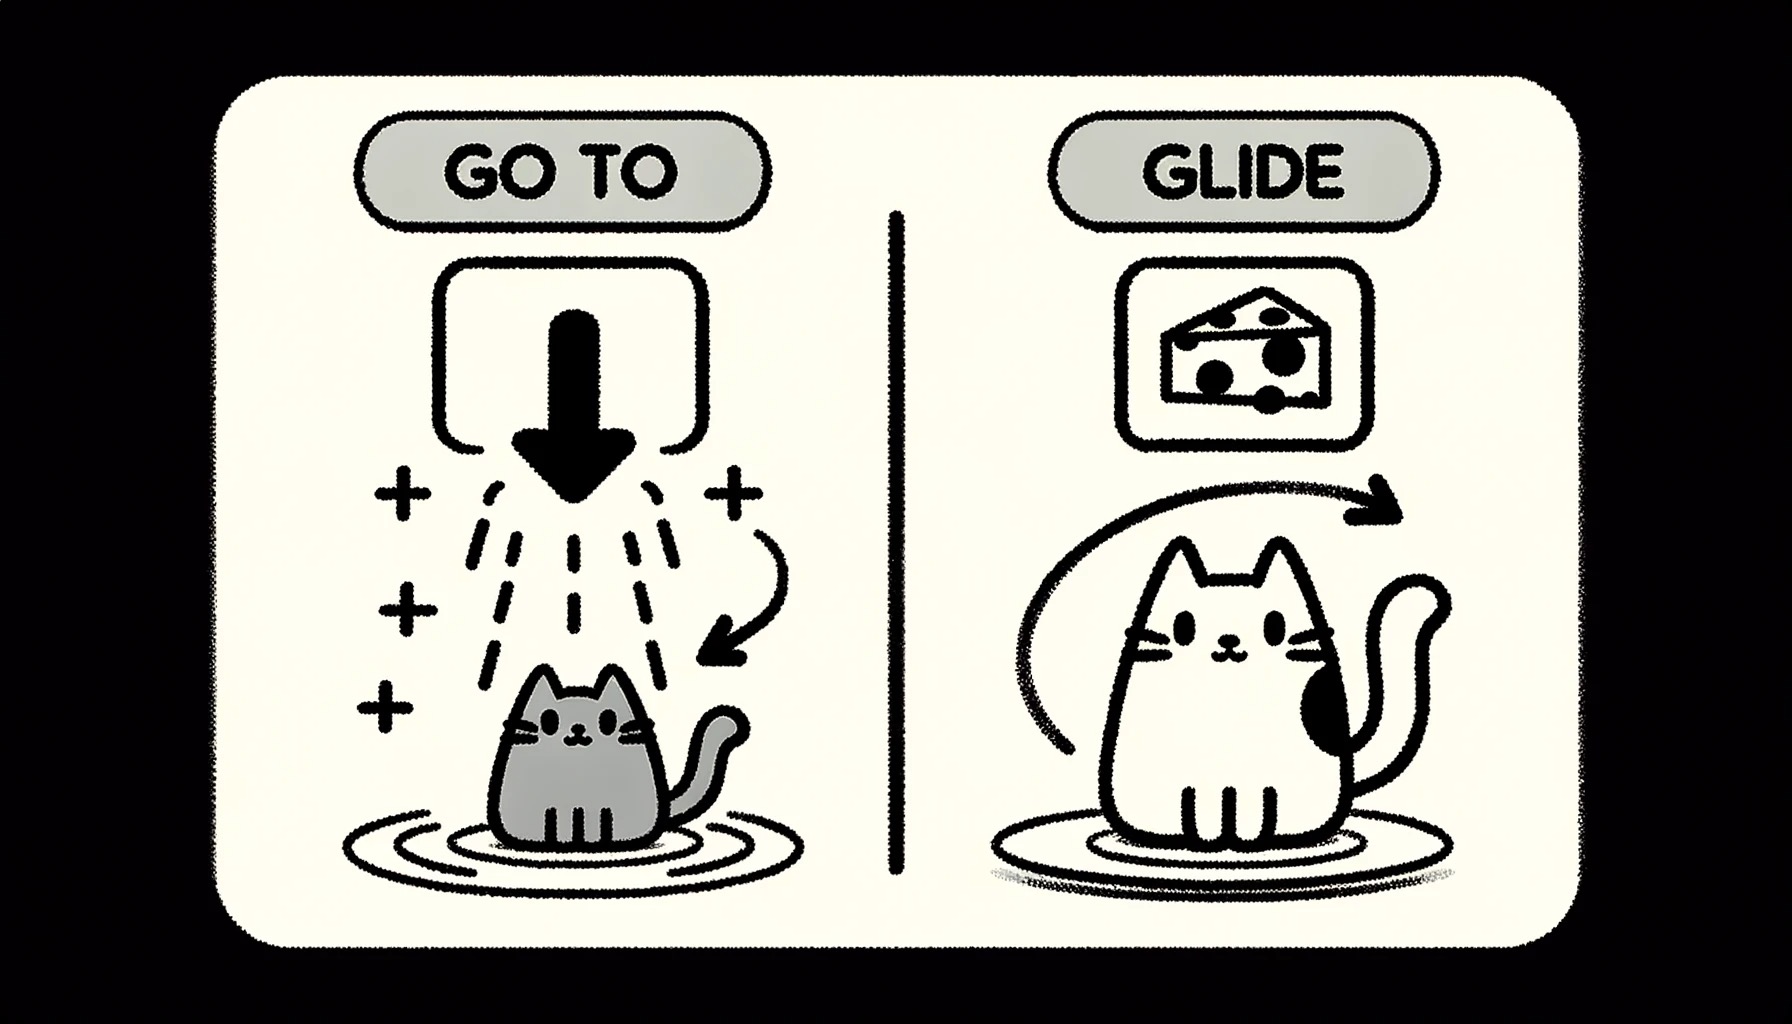
Understanding Goto vs. Glide
Kids Coding with MIT Scratch: Understanding “Go to” vs. “Glide”
Hey young coders! 🌟 MIT Scratch offers a world of possibilities when it comes to moving your sprites around. Two of the coolest blocks to make your sprites move are Go to and Glide. But what’s the difference between them? Let’s find out!
1. The “Go to” Block
Imagine you have a magic teleportation device. You press a button, and instantly, you’re at your favorite ice cream shop. That’s what the Go to block does for your sprite!
- When you use “Go to”, your sprite instantly appears at the specified location on the Scratch stage.
- There’s no movement that you can see – it’s like teleporting!
Example for Kids: Let’s say you have a cat sprite and a mouse sprite on your stage. If you want the cat to instantly appear next to the mouse (maybe it’s a friendly cat!), you’d use the “Go to” block and choose the mouse from the dropdown.
2. The “Glide” Block
Now, think of a smooth slide at the playground. You climb to the top, sit down, and smoothly glide to the bottom. The Glide block makes your sprite move in a similar smooth way from its current position to a specified location.
- The sprite will take a set amount of time to “glide” or slide over to that spot.
- You’ll see the entire movement, and it looks super cool!
Example for Kids: Imagine your cat sprite again. This time, you want the cat to chase the mouse but in a slow, playful manner. You’d use the “Glide” block to make the cat sprite move smoothly towards the mouse over a few seconds.
In Conclusion
Both “Go to” and “Glide” are fantastic for moving your sprites, but they offer different effects. “Go to” is like teleporting – instant and direct. “Glide”, on the other hand, is smooth and visible, like a graceful dance across the stage. Experiment with both in your Scratch projects to see the magic unfold!
Keep scratching and remember, every block you learn brings you one step closer to becoming a coding wizard! 🧙♂️
Happy coding adventures! 🚀


